Restoring Your Motorhome Finish With a Professional RV Paint Repair Guide
The intense desert sun does more than heat up the highway; it actively degrades the exterior surfaces of your motorhome. Over time, UV exposure breaks down the chemical bonds in clear coats and fiberglass gel coats, leading to oxidation, fading, and peeling. Addressing these cosmetic issues early prevents structural moisture intrusion and preserves the resale value of your coach. When road debris or sun damage compromises your vehicle’s exterior, finding a specialized facility with the right equipment and technical expertise is essential to restore that factory-fresh appearance.
At Cassones RV Repair and Sales, our team understands the unique challenges of maintaining a pristine exterior under the relentless southwestern sun. We offer specialized surface restoration, fiberglass repair, and complete refinishing services to address everything from minor rock chips to major collision damage. If your motorhome has suffered scraping from low-hanging desert branches or faded from years of outdoor storage, you can schedule RV repair services with our experienced technicians to stop the damage before it spreads.
For more extensive structural or aesthetic restoration, our dedicated facility is fully equipped to handle complex bodywork and paint matching. Owners of coaches requiring specialized attention can schedule body shop repair directly through our service department. Our technicians use high-grade commercial refinishing materials designed to withstand extreme thermal expansion and UV radiation, ensuring a long-lasting bond. If you need to replace damaged trim pieces, external hardware, or specialty molding before the refinishing process begins, you can also browse our parts catalog to source original manufacturer components.
To speak with an expert about your vehicle’s specific refinishing needs or to get an initial assessment, give our service department a quick call at (480) 357-5200. If you prefer to have our team evaluate the surface degradation in person, you can easily get turn-by-turn routing to our service bays by using directions to Cassones RV Repair and Sales at 3032 E Main St, Mesa, AZ 85213.
Table of Contents
- Understanding the Primary Paint Types Used on Modern RV Exteriors
- How to Determine if Your RV Has Gel Coat or Full Body Paint
- The Realities of Surface Prep and Why Professional RV Painting Costs What It Does
- Navigating Vinyl Decals and Applying Ceramic Coatings Over Fresh Paint
- Sourcing Color-Matched Touch-Up Paint and Finding Commercial-Scale Paint Booths in Mesa
- Common Questions About RV Paint Care and Exterior Restorations
Understanding the Primary Paint Types Used on Modern RV Exteriors
Selecting the correct refinishing chemistry is the most critical decision in any exterior restoration project. Modern recreational vehicles are built using a variety of substrate materials, including fiberglass, aluminum, and structured plastics, each requiring a compatible paint system to ensure proper adhesion and flexibility. Applying an incompatible paint formula can lead to premature delamination, cracking, or severe orange-peel texture.
The three primary coating systems used on modern recreational vehicle exteriors include:
- Acrylic Polyurethane Basecoat/Clearcoat: This is a two-stage system where a highly pigmented base color layer is applied first, followed by a durable, high-gloss clear coat. The clear coat provides the primary defense against UV radiation and physical abrasions. This system is highly flexible, allowing it to expand and contract with the fiberglass panels during extreme temperature swings.
- Single-Stage Polyurethane: This formula combines the color pigments and the gloss-producing agents into a single application. While single-stage paints are highly efficient for solid colors and small touch-up areas, they generally lack the deep, multi-dimensional gloss and long-term UV protection of a dedicated two-stage clear coat system.
- Gel Coat: Technically a modified epoxy or polyester resin rather than a traditional paint, gel coat is applied directly to the mold during the fiberglass manufacturing process. It creates a hard, non-porous outer shell that is exceptionally durable but prone to chalking and oxidation if not regularly waxed or sealed.
The choice of paint system often correlates directly with the class and construction of the vehicle. For instance, high-end motorhomes utilize multi-layered basecoat/clearcoat systems to achieve intricate, multi-colored graphics. If you are looking to upgrade to a coach with a premium factory finish, you can browse Class A diesel motorhomes in our current selection. For those seeking highly maneuverable options with durable, easy-to-maintain exterior finishes, we invite you to browse Class B motorhomes or explore our versatile family options when you browse Class C motorhomes. No matter which style fits your travel plans, matching the original manufacturer paint chemistry is the only way to achieve an invisible, seamless repair.
How to Determine if Your RV Has Gel Coat or Full Body Paint
Before attempting any surface restoration, you must accurately identify whether your vehicle features a molded gel coat finish with vinyl graphics or a true full-body automotive paint job. Because these two surfaces react differently to abrasive compounds, chemical solvents, and heat, using the wrong restoration technique can permanently damage the exterior. A compounding pad that beautifully restores a chalky gel coat can easily burn right through a thin automotive clear coat.
The most reliable way to identify your exterior type is the “edge test.” Run your bare fingertips gently across the boundary lines of the exterior graphics. If you feel a distinct, raised edge at the border of a color change, your vehicle has a gel coat base with vinyl decals applied over the top. If the transition between complex colors and metallic patterns is completely smooth to the touch under a continuous glossy layer, the vehicle has been finished with full-body paint and a protective clear coat.
Another indicator is how the surface ages under environmental stress. Gel coat surfaces tend to oxidize uniformly, developing a dull, chalky white powder on the surface that can be buffed back to a shine. In contrast, damaged full-body paint typically exhibits clear coat failure, which looks like a peeling, transparent plastic film.
If you are planning to trade in your current coach for an upgrade, knowing your exterior type helps determine its market value. You can easily value your trade-in online to see how your vehicle’s finish impacts its trade equity. For travelers seeking the ultimate in exterior durability and premium styling, full-body paint is standard on our highest-end inventory. You can shop luxury motor coaches to experience these multi-stage finishes firsthand, or explore our compact, high-efficiency options when you browse Class B motorhomes featuring advanced factory paint applications.
The Realities of Surface Prep and Why Professional RV Painting Costs What It Does
When owners receive an estimate for a complete exterior repaint or major panel repair, the initial reaction often centers on the cost. The reality of professional refinishing is that materials and actual spray time represent only a small fraction of the total expense. The vast majority of the cost is driven by highly specialized, labor-intensive preparation work that must be executed perfectly to ensure the new coating does not peel or blister.
To achieve a flawless finish that lasts for decades, technicians must complete a rigorous multi-step preparation process:
- Component De-assembly: Unlike a standard passenger car, an RV is covered in external accessories. Technicians must carefully remove awnings, slide-out seals, window trim, running lights, ladders, and chrome emblems rather than simply masking over them.
- Surface Stripping and Repair: Old, peeling clear coat must be sanded down to a stable substrate. Any underlying fiberglass stress cracks, star fractures, or delamination must be structurally repaired with epoxy resin and glass matting before primer can be applied.
- Precision Masking: A typical coach requires hundreds of yards of specialized automotive masking tape and protective paper. Every slide-out gap, ventilation port, and glass pane must be sealed airtight to prevent overspray from entering the interior or mechanical compartments.
- Multi-Stage Sanding and Priming: Technicians apply high-build primers and block-sand the entire body by hand multiple times to ensure the massive panels are perfectly flat and free of waves.
The sheer physical scale of these vehicles requires massive facilities and specialized equipment. If you are considering selling or upgrading your current coach due to cosmetic wear, our team can help you evaluate your options. You can choose to consign your RV with us to let our marketing team showcase your vehicle, or you can explore our incoming inventory of towables when you browse toy hauler inventory. For those who prefer motorized travel, you can also browse Class C motorhomes to find a vehicle with a factory-fresh exterior that is ready for the road.
Navigating Vinyl Decals and Applying Ceramic Coatings Over Fresh Paint
A common question during cosmetic restorations is whether technicians can simply spray new paint directly over faded, cracking vinyl graphics. Professional paint standards dictate that you should never paint over existing vinyl decals. Vinyl is a highly flexible polymer that expands and contracts at a significantly different rate than the underlying fiberglass or aluminum paneling when exposed to temperature changes. If paint is applied over a decal, this thermal movement will quickly crack the paint film along the edges of the vinyl, leading to rapid peeling and moisture intrusion. The correct procedure requires heat-gun removal of the old vinyl, complete adhesive abatement, and sanding the ghost image flat before priming.
Once your vehicle has received a fresh paint application, protecting that investment is the next priority. Modern ceramic coatings offer exceptional protection against UV oxidation and road grime, but timing the application is critical. Freshly sprayed polyurethane paint undergoes a chemical process called outgassing, where residual solvents slowly evaporate from the paint film as it achieves its final cure.
Applying a ceramic coating too early seals the surface, trapping these solvents and preventing the paint from hardening properly, which can lead to a hazy, soft finish. Industry standards recommend waiting 60 to 90 days after painting before applying any ceramic sealant or heavy wax.
If you are planning to finance a new or pre-owned coach with a pristine exterior, protecting the finish from day one is highly recommended. You can apply for RV financing online to secure competitive rates and explore protection packages that can be rolled into your purchase. This ensures your investment is protected whether you choose to shop diesel pusher motorhomes for long-distance cruising or prefer to shop new travel trailers for weekend getaways.
Sourcing Color-Matched Touch-Up Paint and Finding Commercial-Scale Paint Booths in Mesa
Finding the exact color match for a minor touch-up requires locating the manufacturer’s paint code plate. On most motorhomes and towables, this metal plate or durable sticker is located inside the driver’s door jamb, inside a kitchen cabinet door, or near the main entry screen door. These codes identify the precise mixing formulas from premium paint manufacturers. Armed with these codes, you can order exact-match bottles or aerosol cans for small rock chips. For larger repairs, professional mixing systems use computerized spectrophotometers to analyze the current state of your paint, adjusting the formula to account for natural UV fading so the repair blends seamlessly with the surrounding panels.
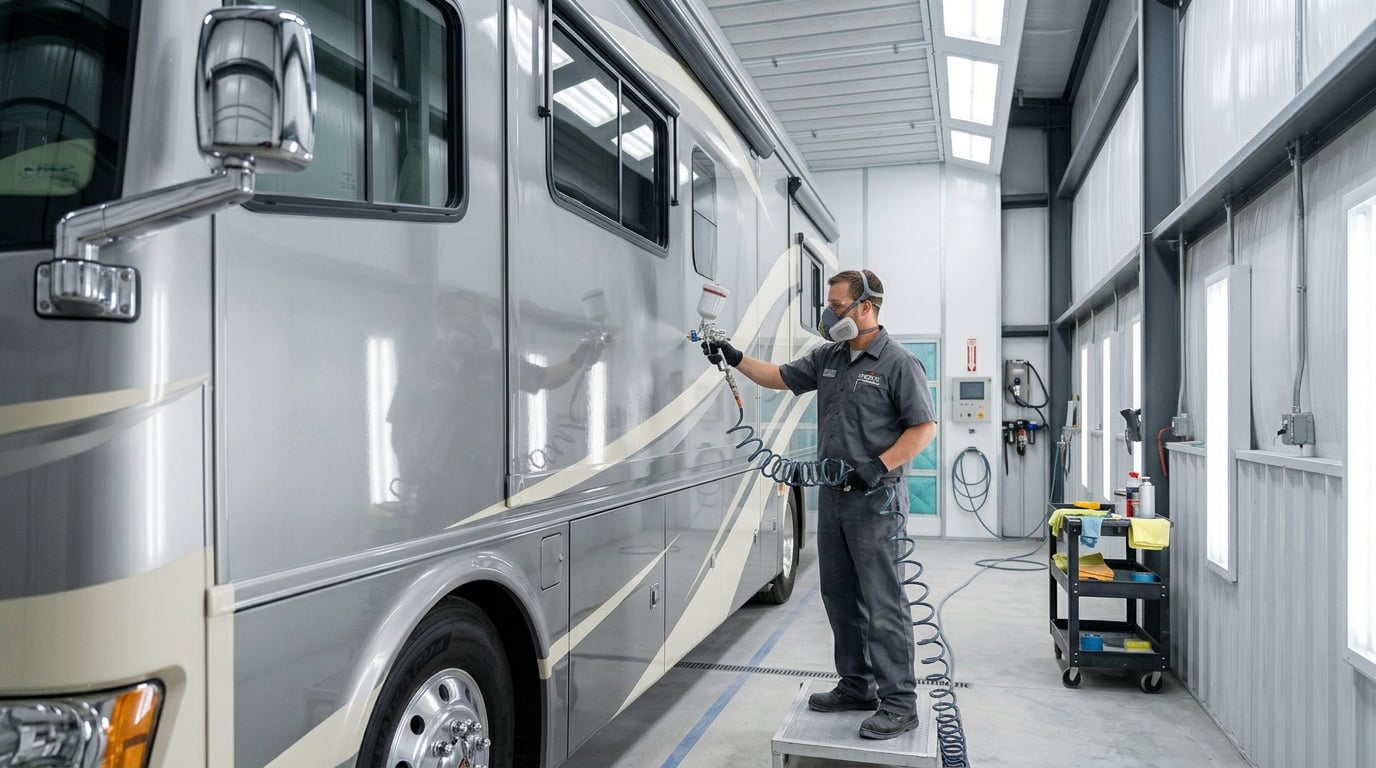
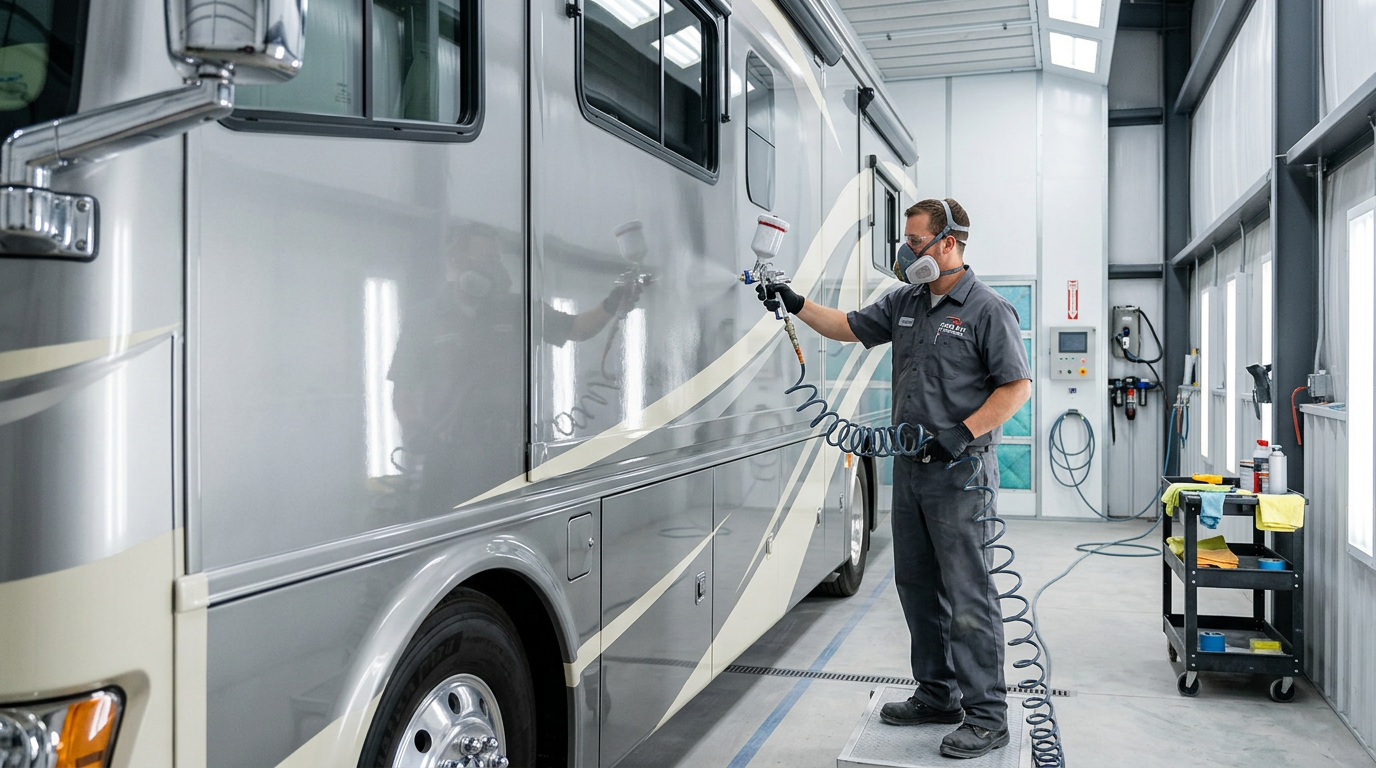
Executing a seamless repair on a large coach requires highly specialized infrastructure. Standard automotive paint booths are typically only 20 to 24 feet long, which is entirely inadequate for a modern motorhome or large fifth-wheel trailer. To paint a Class A coach or a large towable, a facility must utilize a commercial-scale, heated down-draft paint booth measuring at least 45 to 50 feet in length. These massive booths maintain precise temperature controls and high-volume airflow filtration systems to eliminate airborne dust particles, ensuring a flawless, factory-grade finish.
Our local climate in Mesa demands these high standards, as airborne desert dust and high ambient heat will ruin a wet paint finish if it is not applied in a controlled environment. Whether you want to restore the sleek sides of a luxury fifth wheel or refinish a motorized coach, our specialized facility has the capacity to handle large-format vehicles. You can browse fifth wheel trailers to see the complex graphics packages we regularly service, or check out our versatile motorized options when you shop Class C diesel motorhomes. To learn more about our complete range of maintenance and collision services, feel free to visit our homepage to explore our capabilities.
Common Questions About RV Paint Care and Exterior Restorations
Before scheduling any exterior service, owners often want to understand the logistics, maintenance timelines, and capabilities of a professional body shop. Below are direct answers to the most common questions our service advisors receive regarding paint care and structural refinishing.
Q: Can standard automotive clear coat be applied to fiberglass RV panels?
A: Yes, high-grade acrylic polyurethane clear coats designed for the automotive industry perform exceptionally well on fiberglass and aluminum panels. These clear coats provide the essential UV blockers needed to protect the underlying color pigments from fading under the desert sun. Our technicians apply these coatings at a precise thickness to ensure maximum durability without sacrificing the flexibility required for large body panels.
Q: Is single-stage paint or a basecoat/clearcoat system better for localized touch-ups?
A: For minor, direct rock chips, a single-stage paint is often easier to apply and blend. However, for any repair larger than a few inches, a two-stage basecoat/clearcoat system is superior. The clearcoat layer is necessary to match the gloss level of the surrounding factory finish and to provide long-term protection against UV oxidation.
Q: How thick is the factory paint layer on a typical motorhome?
A: A standard factory paint system, including the primer, color coats, and clear coat, typically measures between 4 and 6 mils in total thickness. Because this layer is relatively thin, deep scratches that penetrate past the clear coat cannot simply be buffed out; they require professional sanding, priming, and color blending to restore the protective barrier.
Q: What is the typical curing time before a newly painted RV can be washed?
A: You can typically wash a freshly painted vehicle with cool water and a mild, non-detergent soap after 2 weeks. However, you must avoid high-pressure wash wands, stiff brushes, and commercial drive-through wash bays for at least 30 days to prevent scratching the clear coat while it completes its final chemical hardening.
Q: How do desert towing conditions in the Arizona desert impact fresh paint?
A: Towing through the rocky foothills and desert terrain around Scottsdale exposes fresh paint to high-velocity sand, gravel, and abrasive dust. If you have recently had paint work completed, we recommend avoiding unpaved desert roads for the first month and keeping a safe following distance behind semi-trucks to prevent road debris from chipping the uncured clear coat.
If you are ready to restore the look of your coach or want to learn more about our specialized repair processes, we invite you to learn about our dealership and our commitment to quality service. Our team is always here to help you keep your vehicle looking its best. To discuss your project or schedule an estimate, you can call our service team directly or drop by our main service center in Mesa for a professional consultation.
© 2026 Cassones RV Repair and Sales. All rights reserved.